Skip to content
Mindful Bodi Pilates
Kernersville, Oak Ridge, Walkertown, Stokesdale, Summerfield NC
Close
collapsed
Welcome to Mindful Bodi Pilates
About Claire
Services and Prices
Testimonials
Studio Policies
Menu
expanded
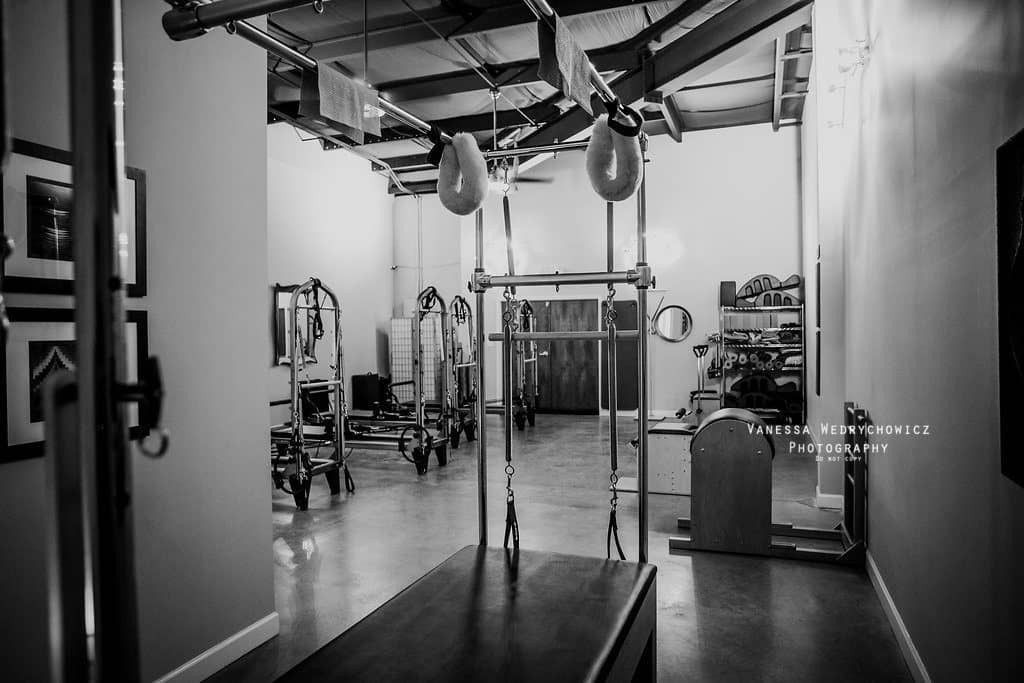
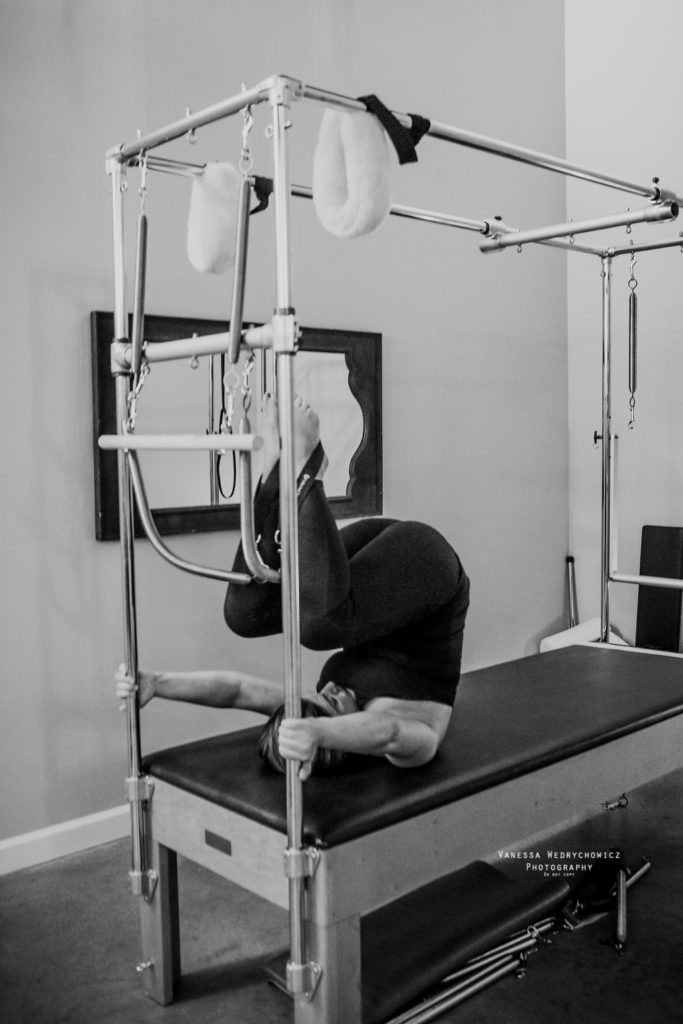
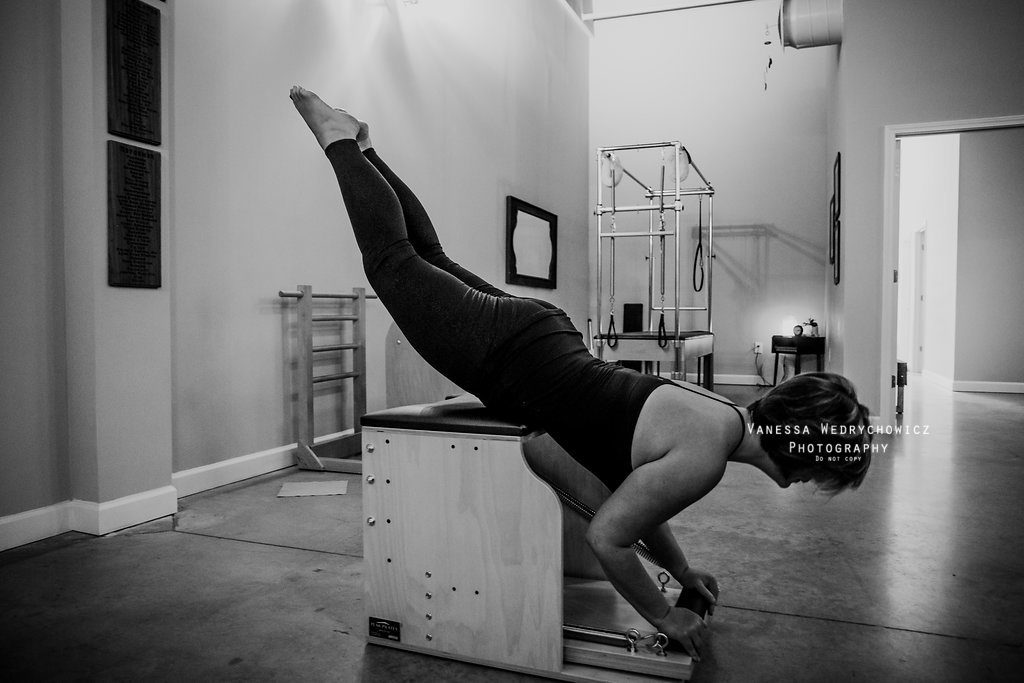
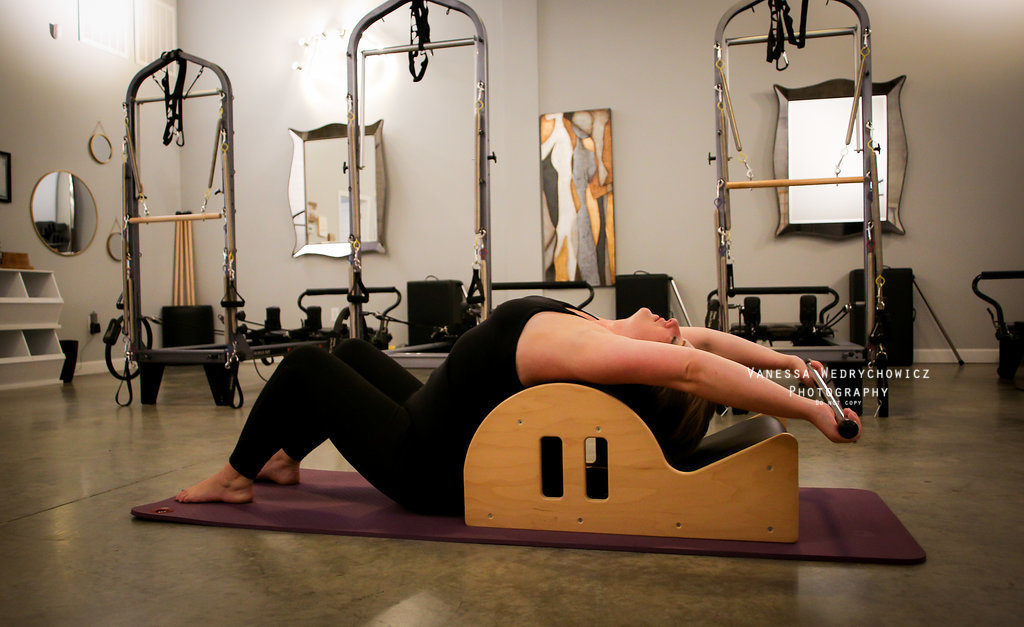
Gallery